
The speed with which they can be applied over large areas and quicker drying times has meant that calcium sulphate screeds have become a popular choice of subfloor in new builds, and we often get questions about working over them.
When installing new floorcoverings over calcium sulphate screeds, it is essential to take the time to assess the condition of the subfloor and suitably prepare it, and then to choose a compatible smoothing underlayment. The following steps are crucial to ensure the performance of a floor for years to come:
Drying time
The first thing to do when working with calcium sulphate screeds is to ensure that the subfloor is suitably sound, smooth and dry. Just as when installing floorcoverings over any other subfloor type, a moisture measurement test should be conducted to ascertain if the subfloor is dry enough to proceed directly to installing floorcoverings. If the relative humidity of the subfloor is above 75%, contractors will need to allow further time for the screed to dry.
It’s important to remember that, unlike concrete, calcium sulphate screeds dry by evaporation of moisture from the bottom up. Therefore, testing may deliver a positive reading right up until the point the subfloor is completely dry. Therefore, contractors should persevere in allowing the subfloor to dry sufficiently. Ensuring areas are adequately ventilated, by opening windows, using a dehumidifier or using underfloor heating systems, if fitted, can speed up this process.
The surface of the calcium sulphate screed should be treated in accordance with the manufacturers instructions. If any laitance is left untreated, the application of subsequently applied levelling compound will have a high risk of failing. This is a common problem when working over calcium sulphate screeds. Laitance is normally removed using rotary sanding or abrading machines. Any contaminants that may prevent adhesion, such as wet trade waste or debris, should then be cleaned off as well.
Priming
After ensuring the subfloor is suitably smooth and dry, the contractor can then proceed to the next step involved in properly preparing calcium sulphate screeds: priming. Priming a calcium sulphate screed is essential to the overall appearance and performance of the floor. It helps to promote the adhesion of the smoothing underlayment to the screed and prevents the unacceptable drying of the levelling compound, which can result in floor failure.
F. Ball’s Stopgap P121 primer is specially formulated to promote the application characteristics of compatible levelling compounds when applied over calcium sulphate screeds. It is designed to be applied in two coats; the first diluted with one part water for every one part primer, followed by a second coat applied neat.
Compatible levelling compounds
Calcium sulphate-based levelling compounds, rather than cement-based ones, offer maximum compatibility with calcium sulphate screeds. This is because calcium sulphate-based levelling compounds will contract at a similar rate to the calcium sulphate screed underneath when drying, limiting the amount of stress at the bond interface and minimising the risk of floor failure.
F. Ball recommends the use of a calcium sulphate-based levelling compound as the application of cement-based levelling compounds onto a calcium sulphate screed in damp environments can result in a reaction taking place that leads to the production of ettringite, a crystalline layer between the levelling compound and screed, which results in bond failure.
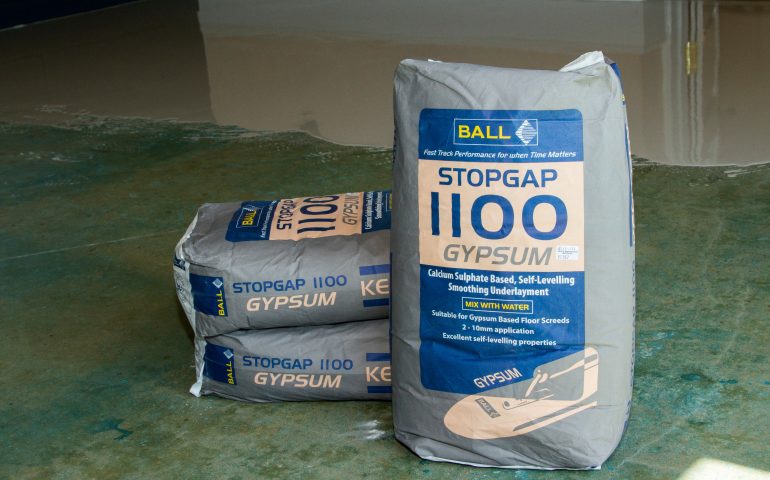
Stopgap 1100 Gypsum is F. Ball’s calcium sulphate-based levelling compound designed especially for application over calcium sulphate screeds. It can be applied at thicknesses between 2 – 10mm, has excellent self-levelling properties and can be pump-applied up to 1500m2 per day, dependent upon manpower, thickness applied and equipment used.
More information about F. Ball’s Stopgap 1100 Gypsum can be found here.